
Crowler™ canning started as a practical solution to offer to-go beer without many of the issues of glass growler. The bottles are big and heavy, tough to clean, and once opened the entire 64oz needs to be completely consumed. Cans weigh almost nothing, arrive at the taproom beer-gunk free, and offer many packaging size options. On top of that, by taking the right steps, cans offer the potential for maintaining the quality of the beer longer. To get a feel for how long that can be, watch a typical canning line run and take note of the steps involved.
You will probably notice that none of the steps are particularly complex, and if you can emulate them, you should be able to get similar results. Of course, there are details in each step that can make a big difference. With canning Crowlers™, as with all manual canning, a consistent process can be polished and perfected to produce canned beers that taste fresh and maintain that freshness long after the day they were filled.
Rinsing
In a typical canning line, the cans go through a rinse station before arriving at the filler. Cans and ends should generally be rinsed before being filled. A flush from a glass rinser or a quick dip in sanitizer solution is typically all that is required.
Purging
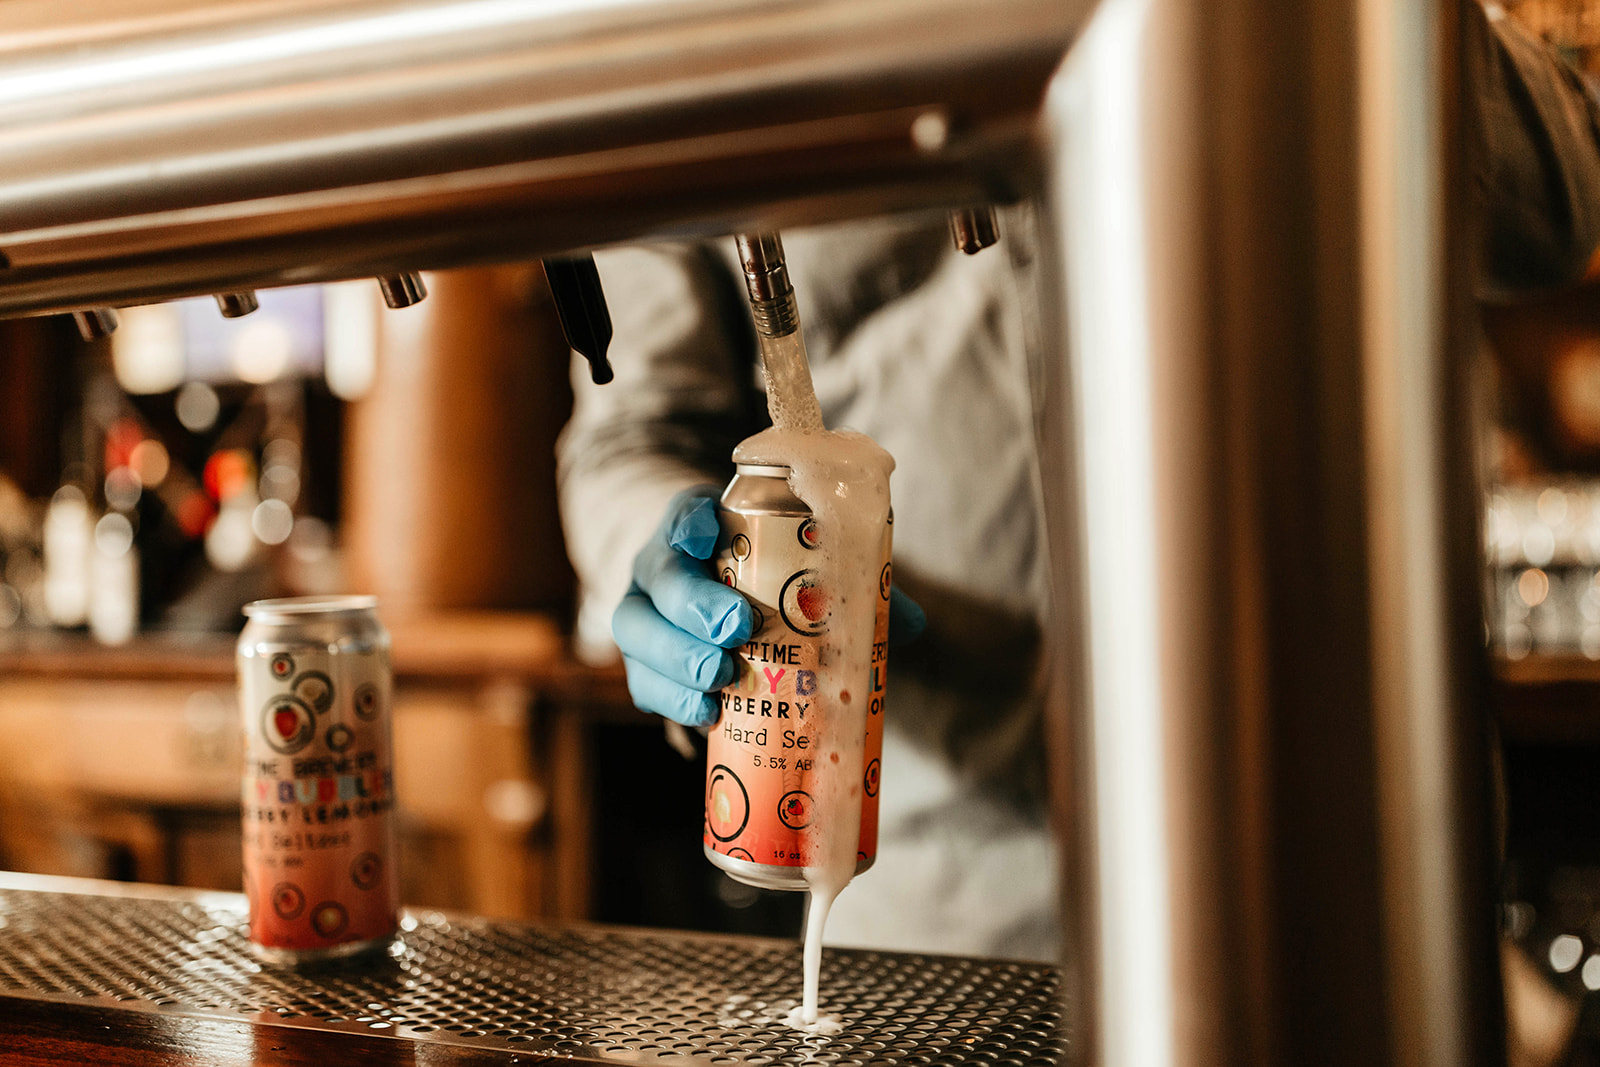
Purging the can with CO2 is the best way to displace oxygen out of the can that will degrade flavors over time. Having said that, in cases where the beer is expected to be consumed in a few days (or a little longer if it is also refrigerated), purging the can may not be necessary. For beers that might be enjoyed weeks, months, or even years later, purging is highly recommended. Doing so can be quick and easy. One simple option is a handheld air gun (like you would see in a machine shop) connected to a low-pressure regulator. For filling cans at the taps, an open tap connected only to low pressure CO2 also works great. For either option, simply “pour” CO2 into the can for a few seconds to allow the heavier-than-air gas to fill the can from the bottom and push the ambient air up and out. To minimize the CO2 mixing and diffusing with the outside air, the CO2 should flow out of the nozzle more like blowing on hot food than a fast-moving jet of air. Also, keep the purging station as close as possible to the filler. With purging and filling, the less time the can is open to the atmosphere the better.
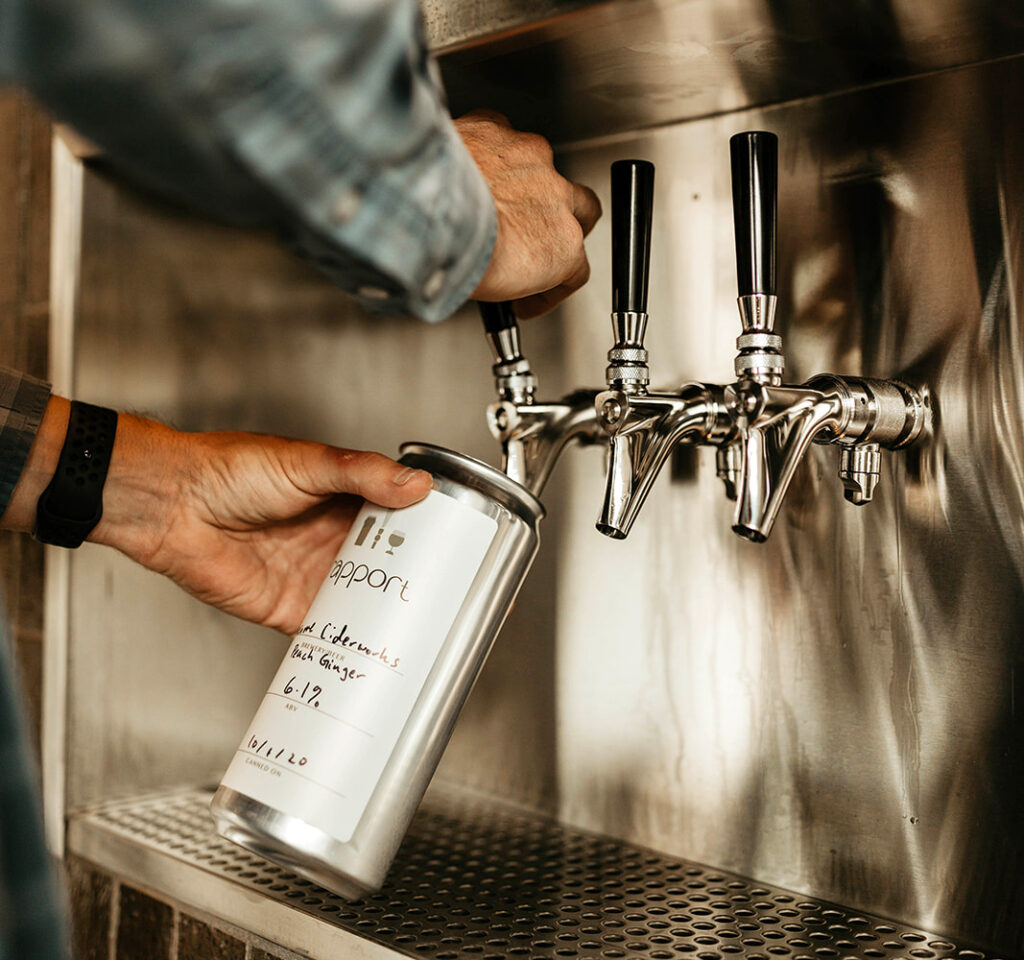
Filling

Filling is best done using a bottom fill tube/wand. Again, however, for CrowlerTM cans expected to be consumed in a short period of time, filling straight from the tap can work just fine. Either way, you will want to make sure fill levels are correct and consistent. For standard cans such as 12oz and 16oz, liquid should be filled between 3/8in and 1/2in below the lip of the can. For 32oz about 5/8in works great. A good way to check fill level is to float a filled/seamed can in a bucket of water. A perfect fill should float just at the surface of the water. If it bobs around, it is probably under filled. Overfilling is ok, but it can lead to beer splashing out when opening the can’s tab. Using a food scale can help with consistency since, as explained next, the suggested beer foam can make it difficult to see the level of liquid.
It is best to achieve a small foam muffin-top above the fill level to set the can end into. That foam is CO2 and will seep out and down the side of the can as you press the can end down onto the can body, forcing out even more tiny amounts of residual oxygen. It’s also satisfying to watch.

Once the can is filled and topped with an end, get it to the seamer as quickly as possible to retain carbonation and minimize reintroducing oxygen. Pro-tip: hold the can at the rigid top and bottom edges rather than the center. Holding it in the center will squeeze the can slightly and push out more foam. As soon as you set the can in the seamer however, that space will expand and suck in a small amount of air, resulting in more dissolved oxygen.
Seaming
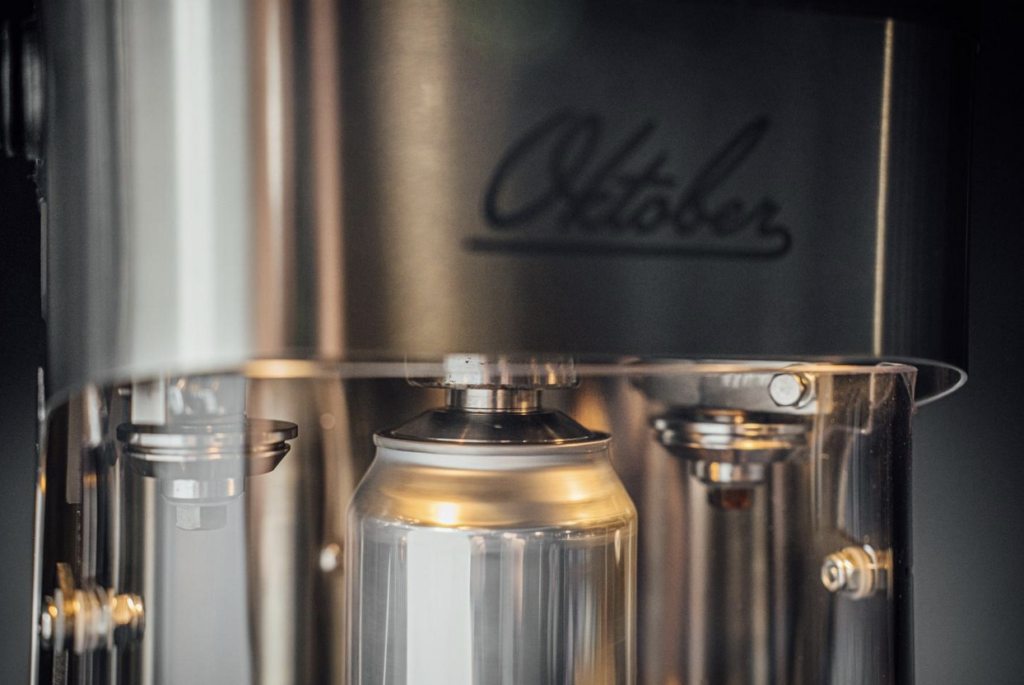 Once you have a filled can with an end on top, all that is left to do is seal the deal. Just like any canning line, manual seamers create a seal called a “double seam”. As the can spins, the first operation rolls the bottom lip of the can end up and under the lip of the can body. The second operation irons or flattens the sections together to form a hermetic seal. The thickness of the finished seam and the length of the internal lip sections, including how much they overlap, determine the quality of the seam. It’s best practice to inspect those dimensions periodically by tearing down a seam and measuring them using calipers.
Results
How do you know if your process is successful? Test. Your. Product. To make sure the beer will be up to your expectations after a certain amount of time, fill some cans using your method and schedule some tastings around that timeline. Pour a beer straight off the tap, seal it, and taste it in a few days or even weeks. Often that is all that a customer expects from a to-go beer. For longer than that, with a dialed purge/bottom fill/cap-on-foam process you might be surprised at the shelf life you can achieve. To let your customers know your intention for the can, you should always add an “enjoy within____” marking to your cans along with the fill date. You may also want to add “keep refrigerated” for beers that may have residual sugars that can lead to secondary fermentation.
Engineers. Beer Lovers. Do’ers.
What once was just an idea quickly evolved from pen and paper sketches to a brewery-tested prototype, and now has become a thriving business. Online sales began in the summer of 2016, and thanks to happy customers we have continued to grow ever since.